

















Table of Contents
Get A Free Quote
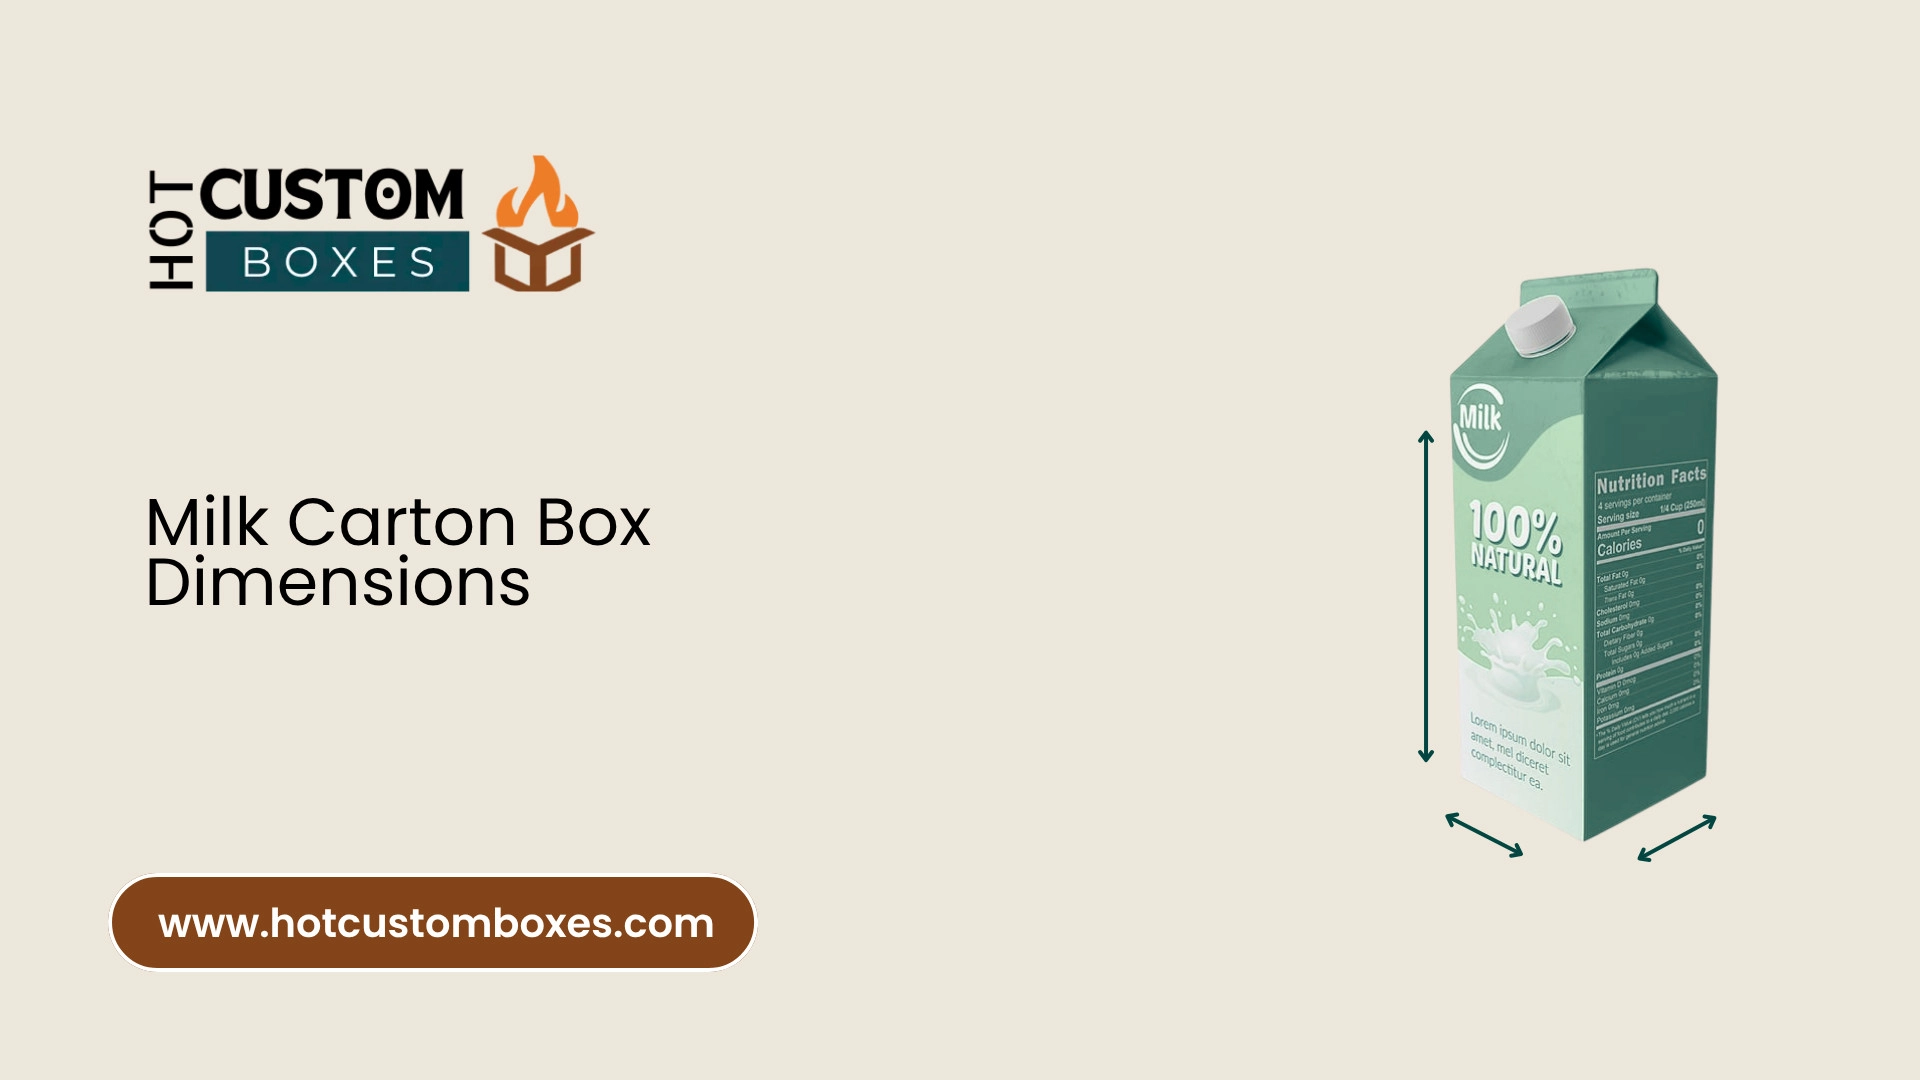
Milk carton dimensions influence much more than the appearance of the packaging. They determine the liquid capacity, product fit, shelf placement, shipping efficiency, and printing layout. Even a small measurement error can create filling problems or produce cartons that do not fit inside a secondary box.
A milk carton is also different from a standard rectangular box. Many cartons have sloped gable panels, sealed top fins, folded bottoms, and plastic pouring caps. These structural parts must be measured correctly.
Understanding Milk Carton Box Dimensions
Milk carton dimensions are usually written in the following order:
Length × Width × Height
Each measurement represents a different part of the carton:
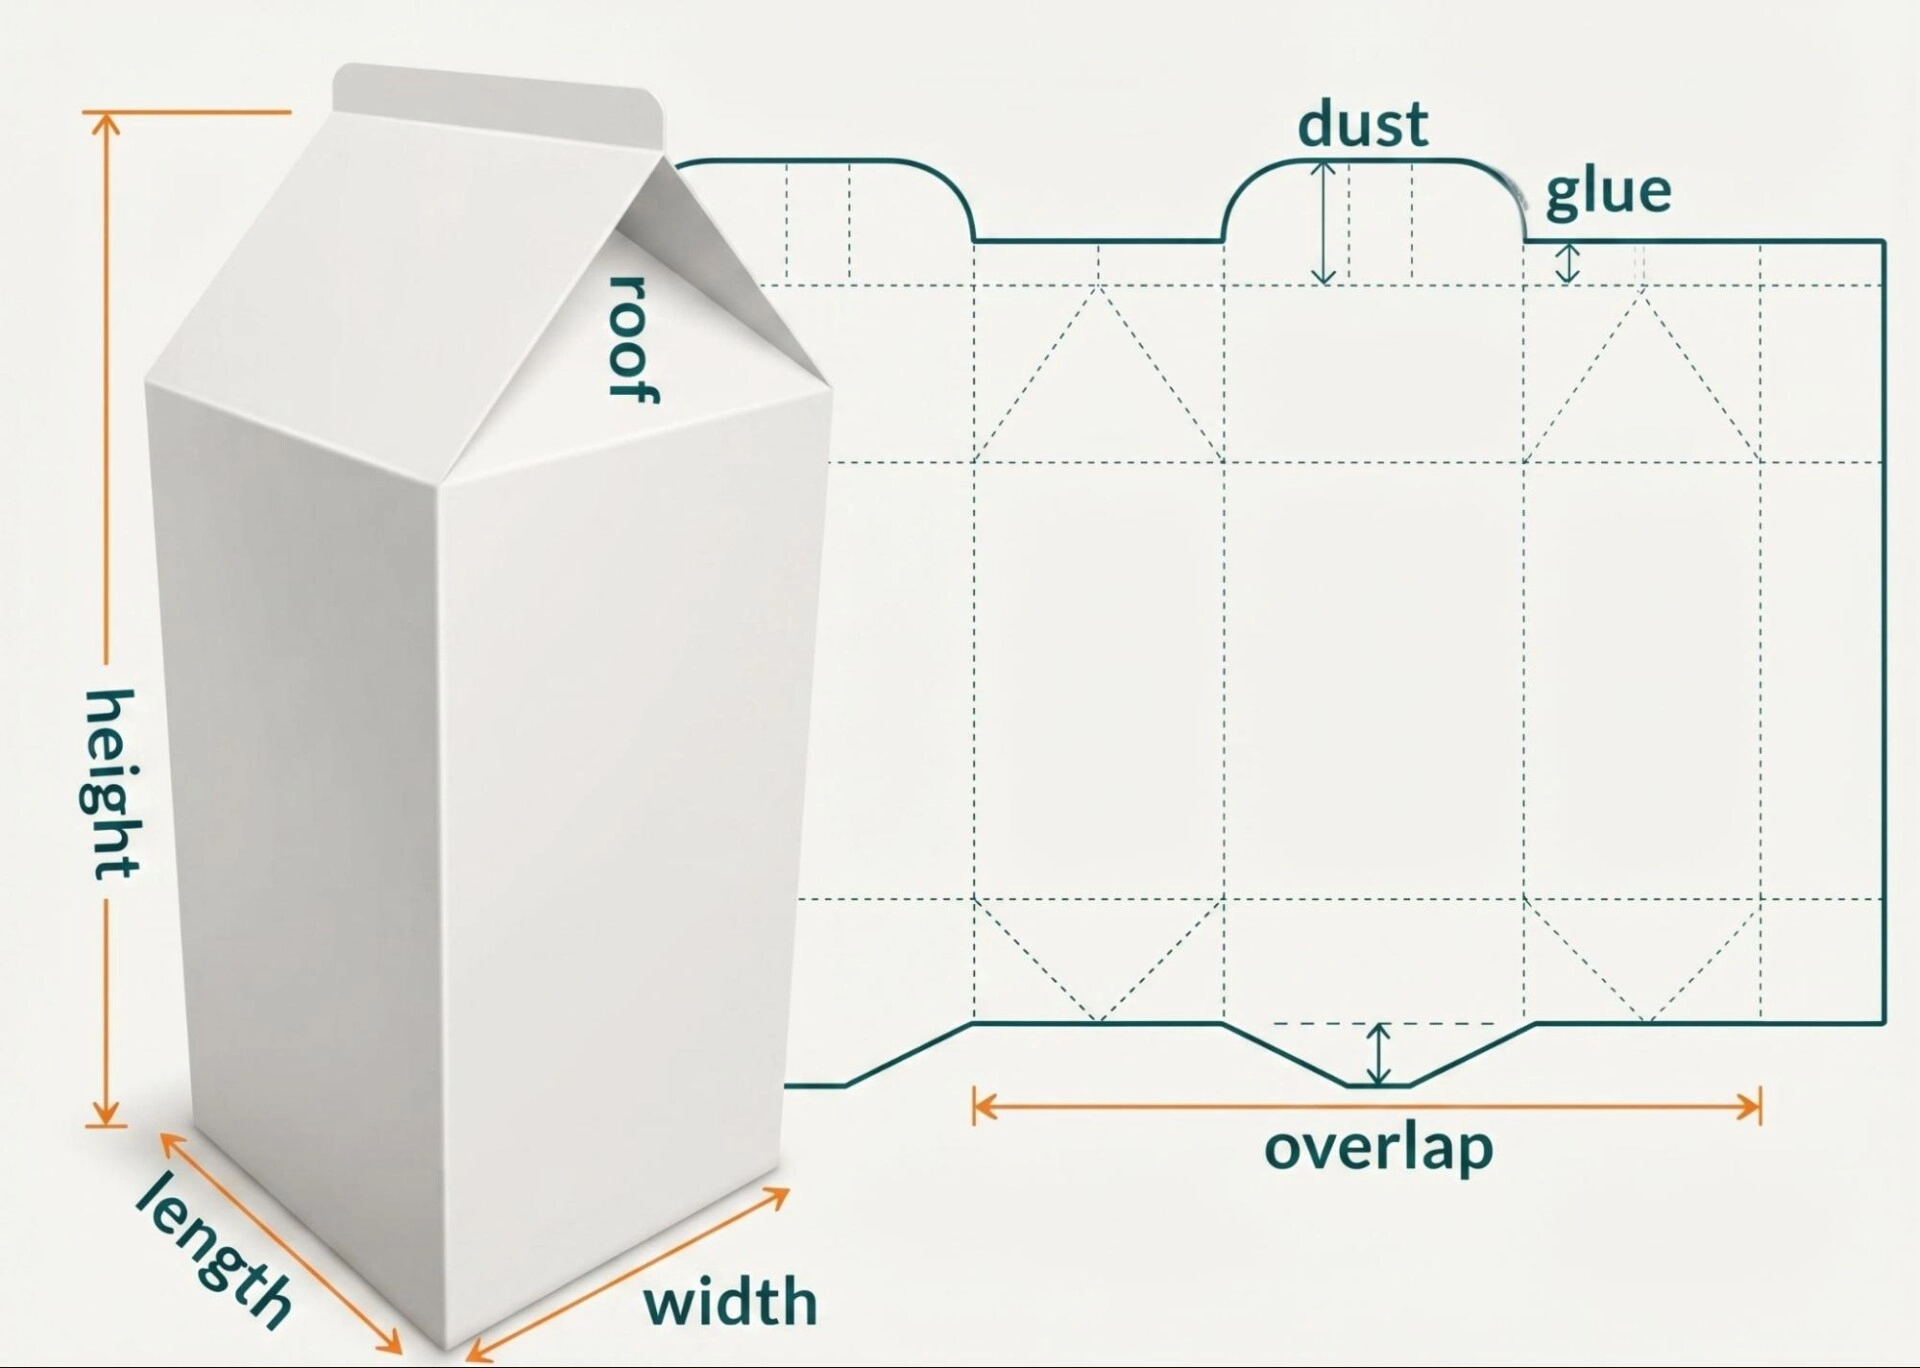
- Length: The horizontal measurement across the front panel
- Width: The measurement from the front panel to the back panel
- Height: The vertical measurement from the bottom to the highest finished point
For example, a carton listed as 3 × 2.5 × 7 inches has:
- A length of 3 inches
- A width of 2.5 inches
- A height of 7 inches
The listed measurements should always include a unit. A specification written only as “3 × 2.5 × 7” can create confusion because the manufacturer may use inches while the designer works in millimeters.
Internal and External Milk Carton Dimensions
Before measuring, decide whether you need internal or external dimensions. These two measurements serve different purposes.
Internal Dimensions
Internal dimensions describe the usable space inside the carton. They help determine liquid capacity and the space available for a product or inner container.
Internal measurements can be affected by:
- Paperboard thickness
- Folded bottom panels
- Glued side seams
- Top closure construction
- Internal coatings
- Inserts or dividers
External Dimensions
External dimensions describe the complete size of the assembled carton. These measurements are important for:
- Retail shelf planning
- Refrigerated storage
- Shipping cases
- Display trays
- Pallet arrangements
- Secondary packaging
Flat or Dieline Dimensions
Flat dimensions refer to the size of the unassembled printed sheet. The dieline includes panels, fold lines, glue flaps, bleed areas, and closure sections.
A finished carton measuring 3 × 3 × 8 inches will require a much wider flat sheet because all four side panels and the glue flap must be included.
Finished dimensions should not be used as dieline dimensions. A packaging manufacturer should prepare the final dieline based on the carton style, board thickness, and production method.
Tools Needed to Measure a Milk Carton
Accurate measurements require only a few basic tools:
- A steel ruler for straight panels
- A measuring tape for larger multipacks
- A digital caliper for board thickness and small components
- A flat table or stable work surface
- A notebook or spreadsheet
- A product sample
- A calculator for unit conversions
How to Measure a Milk Carton Box Step by Step
Step 1: Identify the Carton Style
Start by identifying the carton structure because different styles require different measurement methods.
Common milk carton formats include:
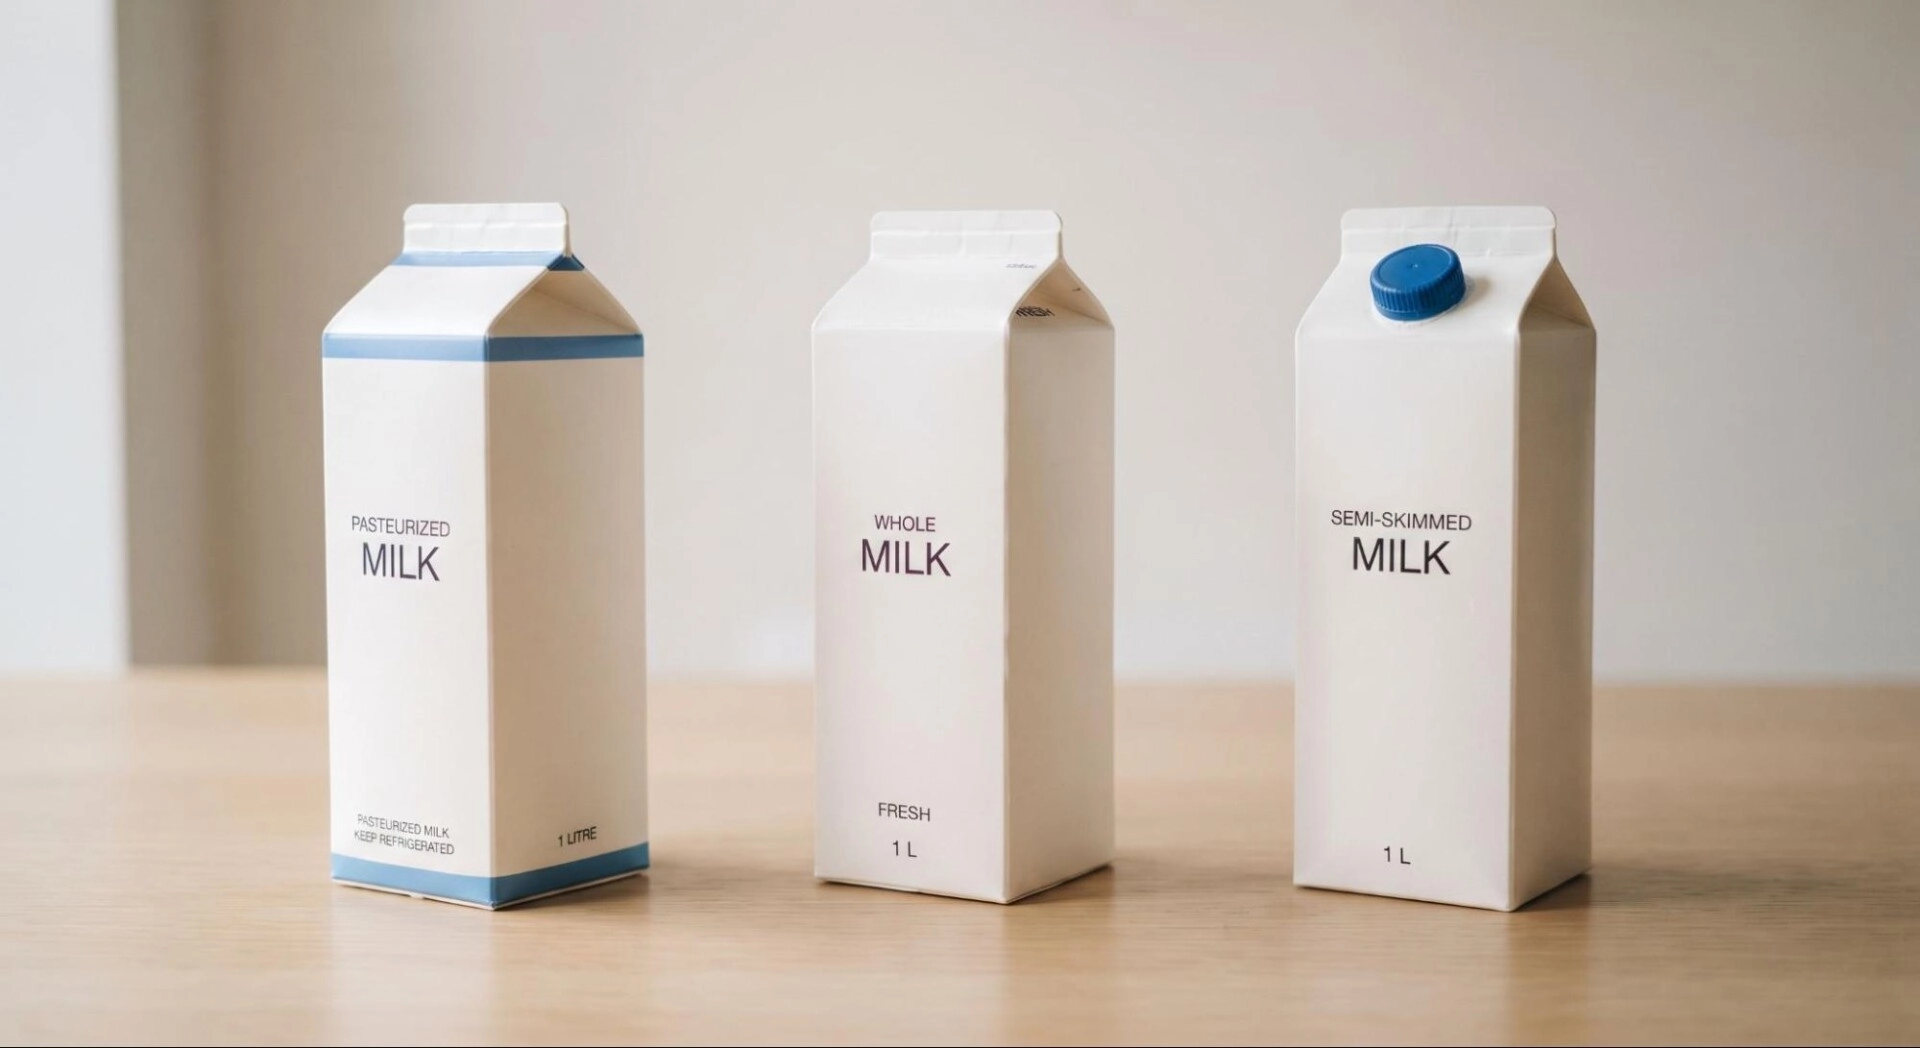
- Gable-top cartons
- Rectangular aseptic cartons
- Cartons with plastic caps
- Folding cartons holding milk pouches
- Bottled milk carriers
- Multipack beverage boxes
- Corrugated shipping cases
Step 2: Place the Carton on a Flat Surface
Place the assembled carton upright on a level table. Make sure it is not crushed, swollen, or leaning. Whenever possible, measure a filled production sample. An empty carton may collapse slightly and produce inaccurate results. A damaged carton should not be used as the main reference.
Step 3: Measure the Length
Face the main display panel toward you. Measure horizontally from the left edge to the right edge. Keep the ruler level and measure between the outermost finished edges. Do not measure around the sides.
For example, if the front panel measures 76 millimeters from left to right, record:
Length: 76 mm
Step 4: Measure the Width
Turn the carton to its side. Measure from the front edge to the back edge. If the side panel measures 70 millimeters, record:
Width: 70 mm
Step 5: Measure the Height
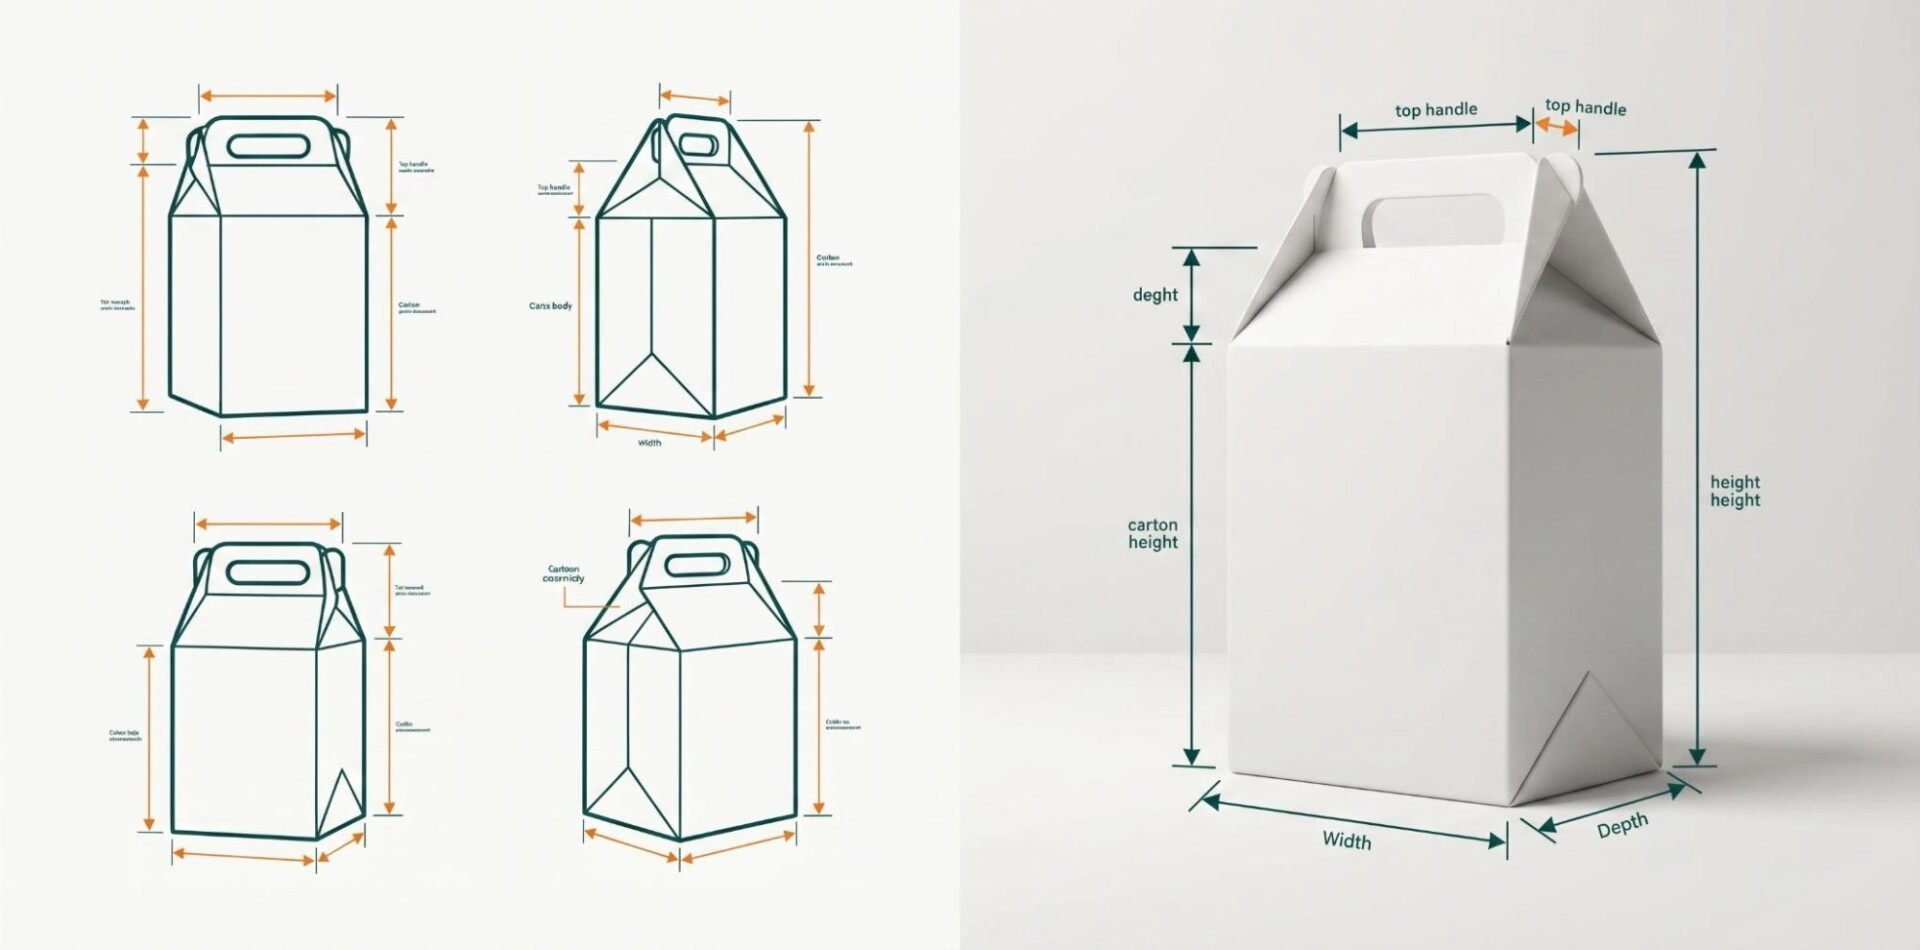
Measure vertically from the bottom surface to the highest point of the finished carton. For a rectangular aseptic carton, this is usually a single measurement. For a gable-top carton, the total height includes:
- Rectangular body
- Sloped gable section
- Sealed top fin
Suppose a gable-top carton has:
- Body height: 150 mm
- Gable section: 30 mm
- Sealed fin: 12 mm
Its total external height is:
150 + 30 + 12 = 192 mm
Record the finished dimensions as:
76 × 70 × 192 mm
Keep the body and closure measurements in your production notes because they affect filling, printing, and secondary packaging.
Step 6: Check the Pouring Cap or Closure
Some milk cartons have a plastic cap that extends beyond the top or side panel. Measure this projection when it affects the carton’s maximum external size.
Record both measurements:
- Carton width: 70 mm
- Maximum width including cap: 74 mm
Step 7: Repeat Every Measurement
Measure each dimension at least twice. If the two results are different, check whether the carton is distorted or the ruler was positioned incorrectly. For bulk production, measure several samples. Small variations may occur because of folding, filling pressure, sealing, and material behavior.
How to Measure Internal Milk Carton Dimensions
Internal dimensions can be difficult to measure in a sealed liquid carton. Do not cut open the only sample before recording its external dimensions.
Follow this process:
- Measure and record all external dimensions.
- Empty and clean the carton if necessary.
- Carefully separate or cut the carton.
- Identify the inner boundaries of the main panels.
- Measure the usable internal length and width.
- Measure the usable body height.
- Note any space occupied by folds and closures.
The internal size is not always equal to the external size minus twice the paperboard thickness. Folded seams and compressed corners may occupy additional space. For accurate liquid capacity, use the manufacturer’s structural drawing or perform a controlled fill test.
How to Calculate Milk Carton Volume
For a completely rectangular carton, use this formula:
Volume = Length × Width × Height
If the internal dimensions are measured in centimeters, the result will be in cubic centimeters.
Because:
1 cubic centimeter = 1 milliliter
Suppose the internal rectangular area measures:
7 cm × 7 cm × 20 cm
The estimated volume is:
7 × 7 × 20 = 980 cubic centimeters
That equals:
980 milliliters
However, this calculation does not automatically mean the carton can safely hold 980 milliliters of milk. The actual filling capacity may be lower because of:
- Top folds
- Bottom folds
- Sealing space
- Headspace
- Sloped gable panels
- Material displacement
- Filling equipment requirements
Why the Formula Is Less Accurate for Gable-Top Cartons
A gable top is not a complete rectangular block. Its sloped panels reduce the available space. Multiplying the total external length, width, and height will overstate the liquid capacity.
For accurate production planning, use:
- Internal structural drawings
- Packaging CAD calculations
- Supplier specifications
- Controlled water-fill testing
- Filling-machine requirements
Helpful Measurement Conversions
Packaging specifications may use imperial or metric units. These conversions are useful:
- 1 inch = 25.4 millimeters
- 1 centimeter = 10 millimeters
- 1 cubic centimeter = 1 milliliter
- 1 liter = 1,000 milliliters
- 1 cubic inch = approximately 16.387 milliliters
- 1 US fluid ounce = approximately 29.57 milliliters
For example, a carton that is 3 inches wide has a metric width of:
3 × 25.4 = 76.2 mm
Avoid rounding too early. A small rounding difference can become significant when many cartons are arranged inside one shipping case.
How to Measure a Multipack Milk Carton Box
A multipack box holds several individual milk cartons. Its size depends on the number and arrangement of the units.
Suppose six cartons will be arranged in two rows of three. Each carton measures:
75 × 72 × 195 mm
If three carton lengths run across the case:
3 × 75 = 225 mm
If two carton widths form the depth:
2 × 72 = 144 mm
The grouped product dimensions are therefore:
225 × 144 × 195 mm
These are not the final box dimensions. Space may still be required for:
- Dividers
- Loading clearance
- Corrugated board thickness
- Handles
- Protective pads
- Carton expansion
- Manufacturing tolerances
If a 3-millimeter divider separates each row, the internal depth could start at:
144 + 3 = 147 mm
Additional loading clearance may also be necessary. A physical prototype should be tested before mass production.
Dimensions for Retail Displays and Shipping Cases
A milk carton may fit inside several packaging layers:
- Primary package: The liquid-holding carton
- Secondary package: A retail multipack or display tray
- Tertiary package: A corrugated shipping case
- Pallet load: Multiple cases prepared for distribution
Measurements must be recorded separately for every packaging level.
For example:
| Packaging Level | Example Dimensions | Main Purpose |
| Individual milk carton | 75 × 72 × 195 mm | Holds the milk |
| Six-carton multipack | 230 × 150 × 200 mm | Groups retail units |
| Shipping case | 470 × 310 × 215 mm | Protects multiple packs |
| Pallet load | Based on case arrangement | Storage and transportation |
These figures are illustrative. The final measurements depend on the actual product, material, arrangement, and required clearance.
Factors That Affect Final Milk Carton Dimensions
Product Capacity
A larger milk volume usually requires a larger carton. However, two cartons with the same capacity may have different proportions. One brand may use a tall, narrow carton. Another may choose a shorter, wider design for easier shelf placement.
Carton Style
Aseptic, gable-top, and capped cartons use different closure systems. Each structure affects the total height and usable internal space.
Material Thickness
Thicker paperboard can increase external dimensions and slightly reduce internal space. It can also affect folding accuracy and corner construction.
Barrier Layers
Milk packaging may include paperboard, polymer coatings, and barrier layers. These materials help protect the contents from moisture, air, and light. Their combined thickness must be considered during structural design.
Headspace
A milk carton should not always be filled to its maximum geometric capacity. Controlled headspace may be required for sealing and product movement.
Top and Bottom Closures
Folded panels occupy space. The bottom closure may reduce usable height, while the top seal requires enough material for reliable closing.
Pouring Caps
A cap can increase the maximum height or width. It can also affect how cartons are oriented inside a multipack.
Shipping Requirements
Dimensions influence the number of cartons placed in a case and the number of cases that fit on a pallet. Poor dimensional planning can create unused space and increase shipping costs.
Common Milk Carton Measurement Mistakes
Here are some common mistakes that should be avoided while measuring milk carton boxes
Writing Measurements in the Wrong Order
Always use Length × Width × Height unless the manufacturer requests another order. Label every measurement to prevent confusion.
Confusing Capacity With Dimensions
A one-liter label describes liquid volume, not the carton’s physical measurements. Different one-liter cartons can have different shapes and dimensions.
Excluding the Gable Top
Measuring only the rectangular body produces an incorrect external height. Include the sloped section and sealed fin.
Ignoring the Cap
A projecting cap may cause problems inside a tight divider or shipping case. Record the carton body and maximum capped dimensions.
Using a Crushed Sample
A damaged carton cannot provide dependable measurements. Use a properly assembled sample in normal condition.
Measuring Only One Carton
Production samples can vary slightly. Measure several units when developing bulk packaging.
Mixing Internal and External Measurements
An external carton measurement should not be used as the required internal size of a secondary box. The outer package needs enough usable space to hold the product.
Ignoring Board Thickness
Board thickness becomes especially important when several cartons, panels, or dividers are placed together.
Relying Only on Calculated Volume
A basic rectangular formula may overestimate the capacity of a gable-top carton. Confirm capacity with technical drawings or physical testing.
Measurement Checklist
Before approving the carton dimensions, confirm that you have recorded:
- Carton style
- Length
- Width
- Rectangular body height
- Gable height
- Top fin height
- Total external height
- Internal dimensions
- Cap projection
- Material thickness
- Product capacity
- Required clearance
- Measurement unit
- Multipack arrangement
- Shipping case size
The measurement sheet should also include the product name, sample date, and the person responsible for measuring it.
Final Prototype Testing
Accurate measurements are an essential starting point, but calculations alone cannot confirm the final performance of a milk carton box. A prototype should be produced and tested with the actual product.
During testing, check whether:
- The carton holds the required liquid quantity
- The top and bottom seals close correctly
- The product fits without excessive pressure
- The carton stands upright
- The cap has enough clearance
- Printed panels align with folds
- Individual units fit inside the multipack
- Cases stack without crushing
- Products can be loaded and removed efficiently
Get the Right Cereal Box Dimensions for Your Packaging
Choosing the right cereal box dimensions starts with accurate measurements. Check the box height, width, and depth based on your product and packaging needs. A well-sized box helps maintain a secure fit, supports efficient storage, and creates a clean retail presentation. Hot Custom Boxes offers custom cereal boxes made to your required dimensions, helping you choose the right size for your product, storage, shipping, and retail display needs.