












Table of Contents
Get A Free Quote
You absolutely know what custom packaging boxes are and how important they are if you’re an e-commerce business owner. But do you actually know how to make custom boxes? We think you don’t.
Don’t worry. Making a custom box is not as difficult as you may think. What do you actually need to make a box that fits your product properly? You need to:
- Follow the right steps
- Choose the right materials and tools
- Take accurate measurements
- Select the right box style
- Create a suitable template and design
Below, we’re going to explain the complete custom box-making process step by step so you can understand how each stage works. So keep reading!
What You Need to Make a Custom Box
If you are keen to learn how to make a custom box, start by thinking about the product first. The package should hold the item securely without leaving empty space.
A good package should also support your brand. Your logo, colors, images, and other design elements can turn a simple carton into a premium branded experience.
Before you begin making custom boxes, gather the right supplies. Your needs will change depending on whether you want to create one sample at home or produce hundreds of packages.
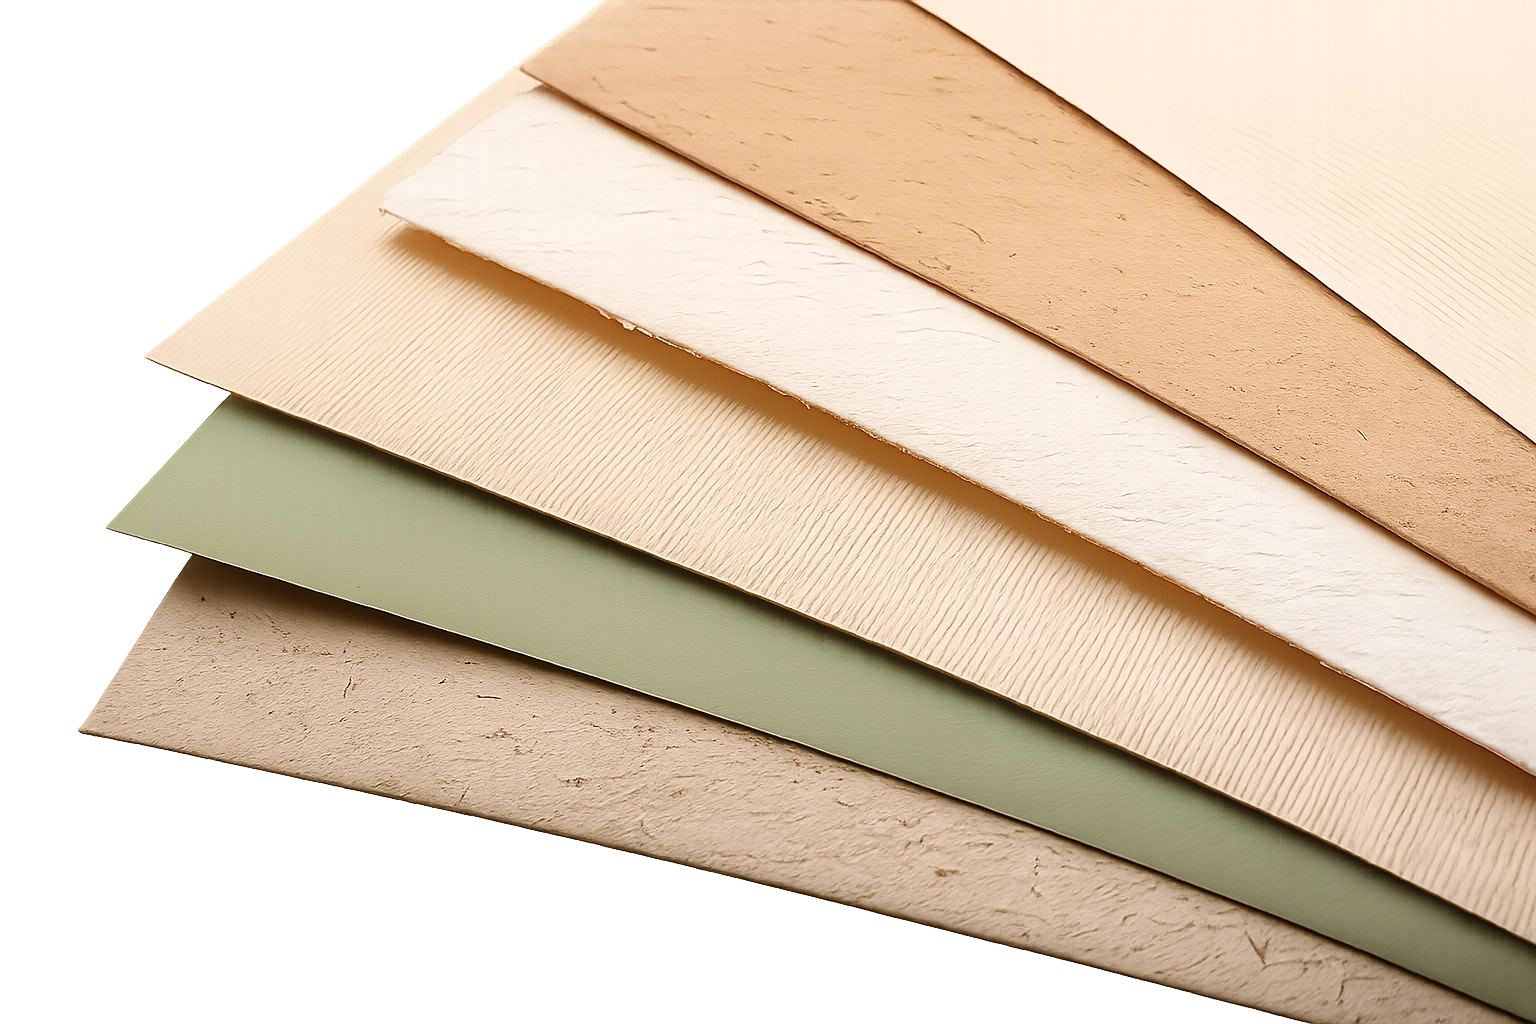
Pick the Appropriate Material
The material affects the strength, appearance, folding, and printing of the final package. Here are common choices:
- Cardboard for lightweight products
- Kraft paper for a natural look
- Paperboard for retail packaging
- SBS paperboard for smooth, high-quality printing
- Corrugated cardboard for shipping and heavier products
- Chipboard for sturdy, rigid structures
Prepare the Basic Tools
You can work with common tools such as:
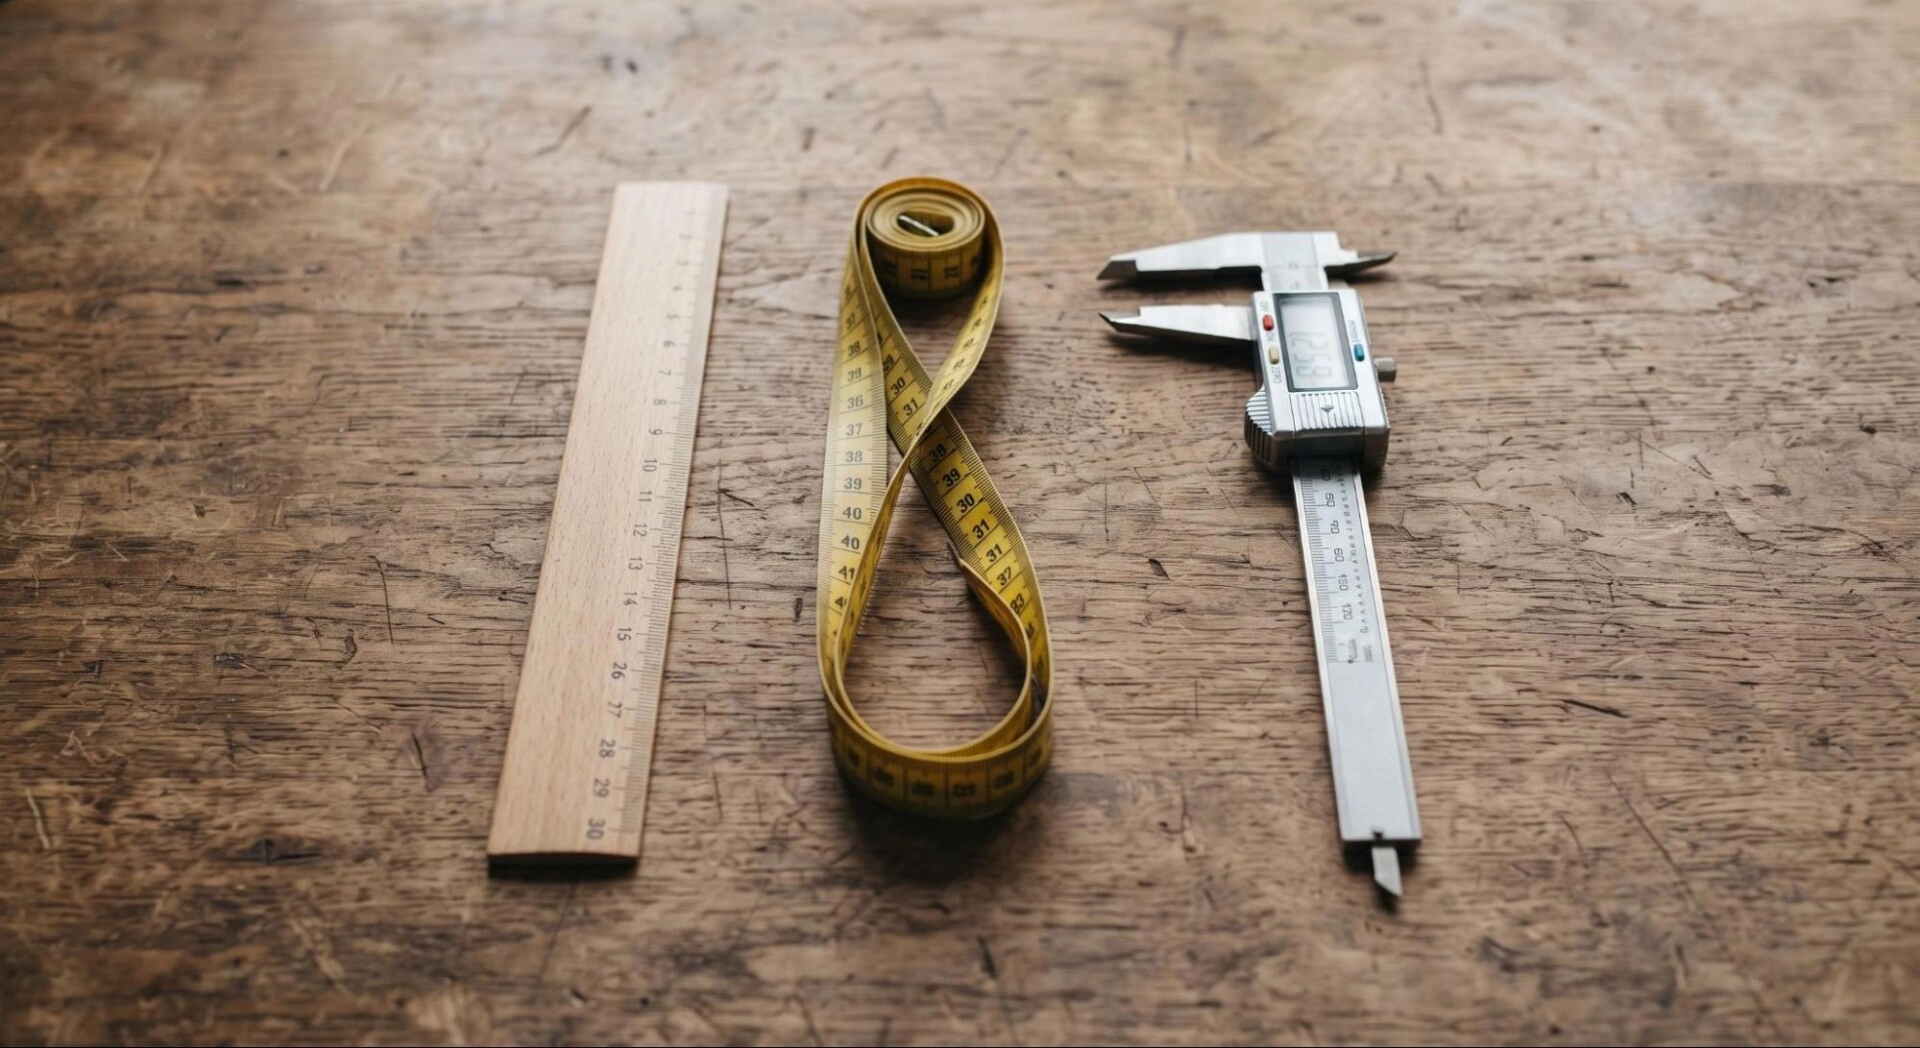
- Ruler
- Measuring tape
- Pencil
- Cutting mat
- Utility knife
- Scissors
- Scoring tool
- Paper cutter
- Adhesive
As you are creating a few custom packages, these tools are enough. Commercial packaging production uses specialized equipment for accurate cutting, scoring, printing, and folding.
Step 1: Measure the Product Carefully
Accurate measurements are the foundation of a good package. Yes! Please don’t guess the size and hope the product fits. If you get this stage wrong, the finished carton may not hold the product properly.
Measure the item’s:
- Length
- Width
- Height
Place the product on a flat surface and measure each side carefully. If it has an unusual shape, measure the widest and longest points.
Also think about what will go inside the package with the product. You may need space for an insert, tissue paper, foam, or another protective layer.
How to Measure a Box
Let’s say your item is 6 inches long, 4 inches wide, and 2 inches high. That doesn’t mean you should create an interior that is exactly 6 × 4 × 2 inches.
The final fit depends on how the item will sit inside the package. You may need a little extra room for protection or an insert. The thickness of the board also affects the finished dimensions.
So, before creating your box dimensions, think about the complete package rather than the product alone.
Write down the measurements before moving forward. Check them again. A small mistake here can affect the entire design.
Step 2: Select the Right Box Style
Once you know the dimensions, choose a structure that suits the product.
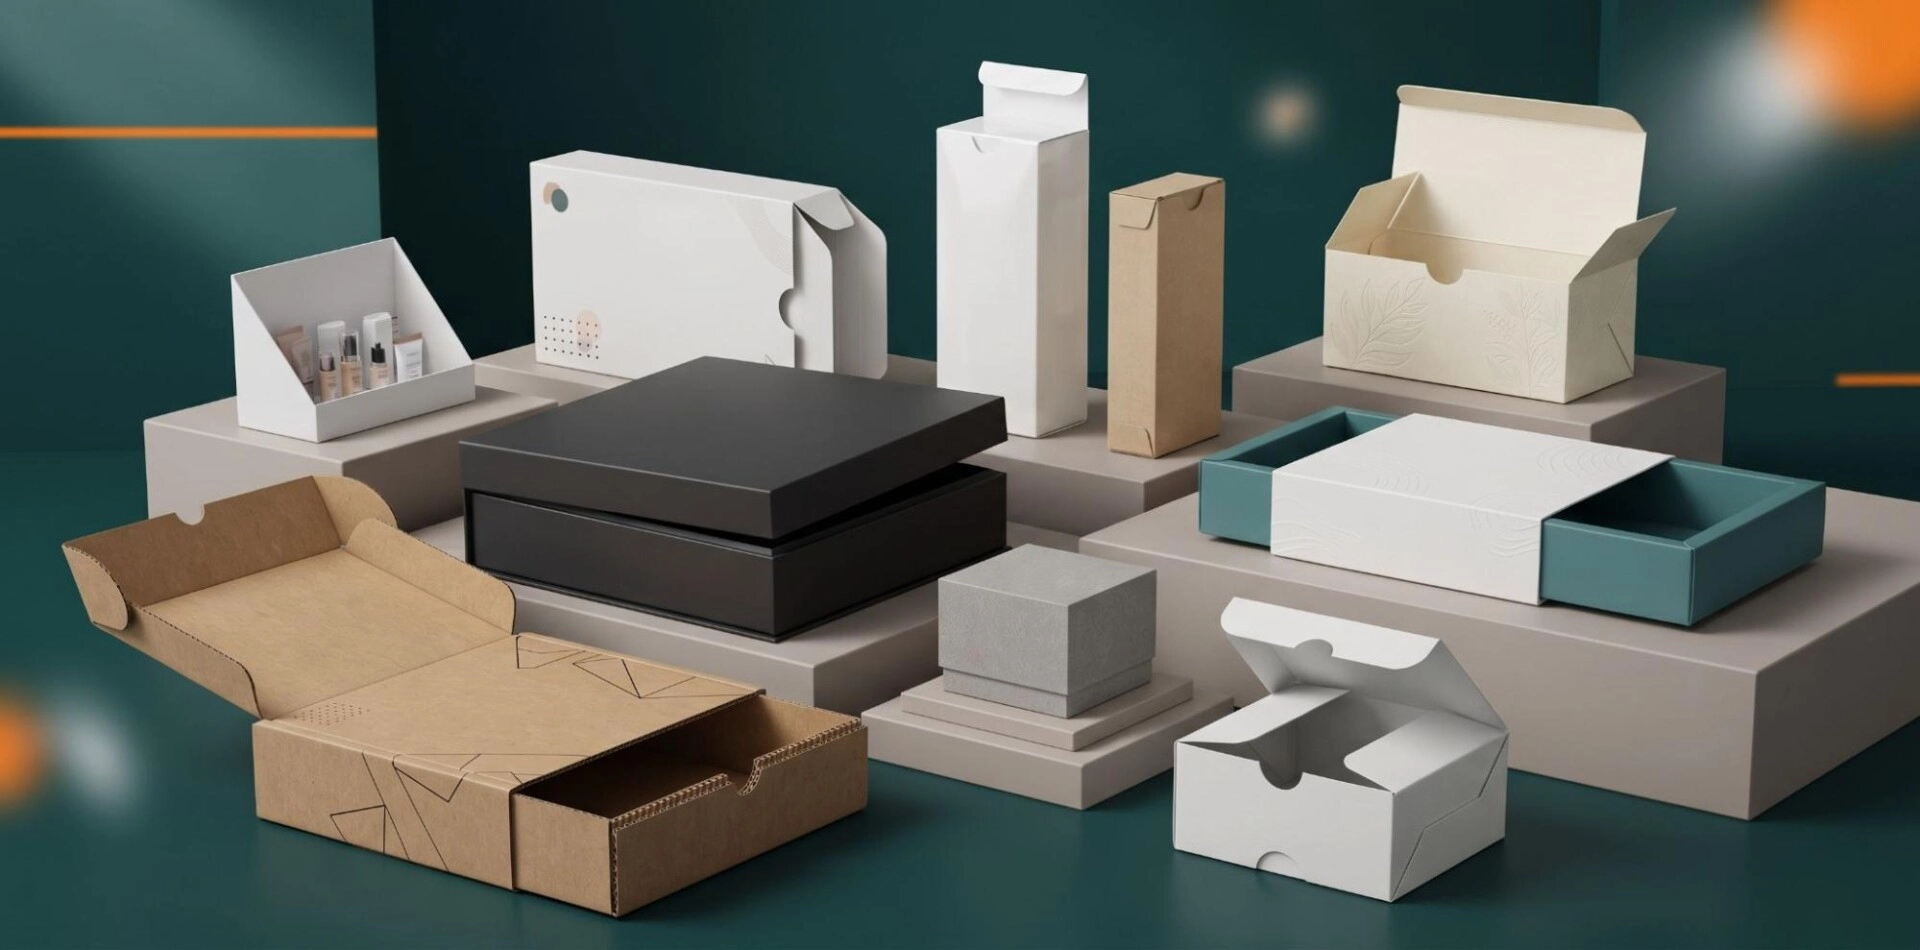
There are many options available, including:
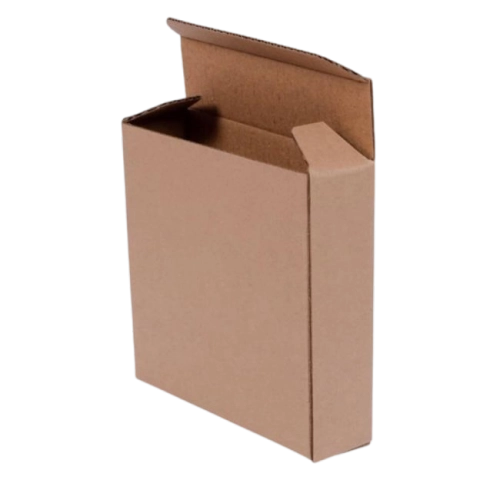
- Folding cartons
- Tuck boxes
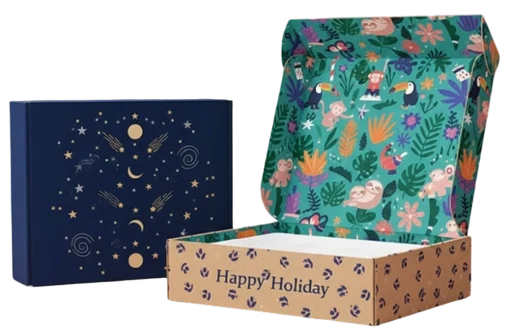
- Mailer boxes
- Shipping boxes
- Pillow boxes
- Die-cut boxes
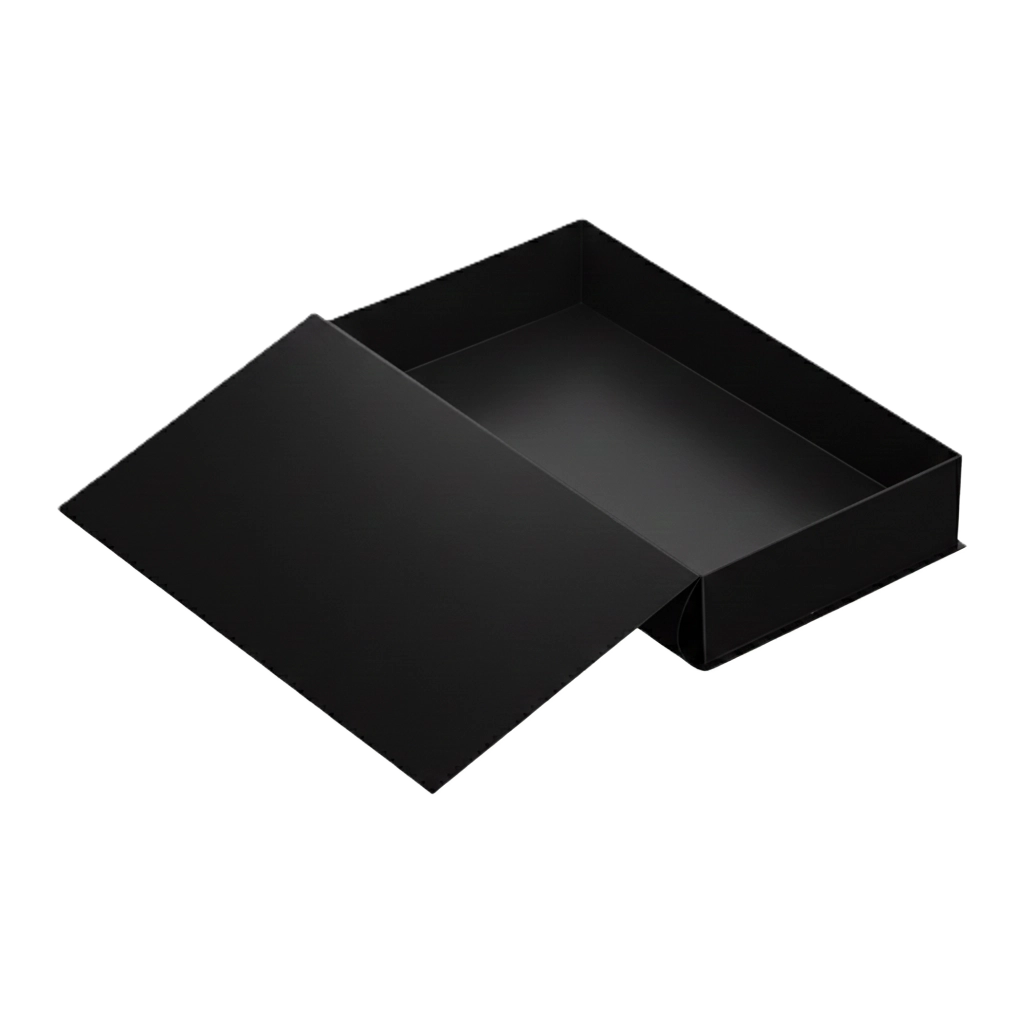
- Two-piece boxes
- Rigid boxes
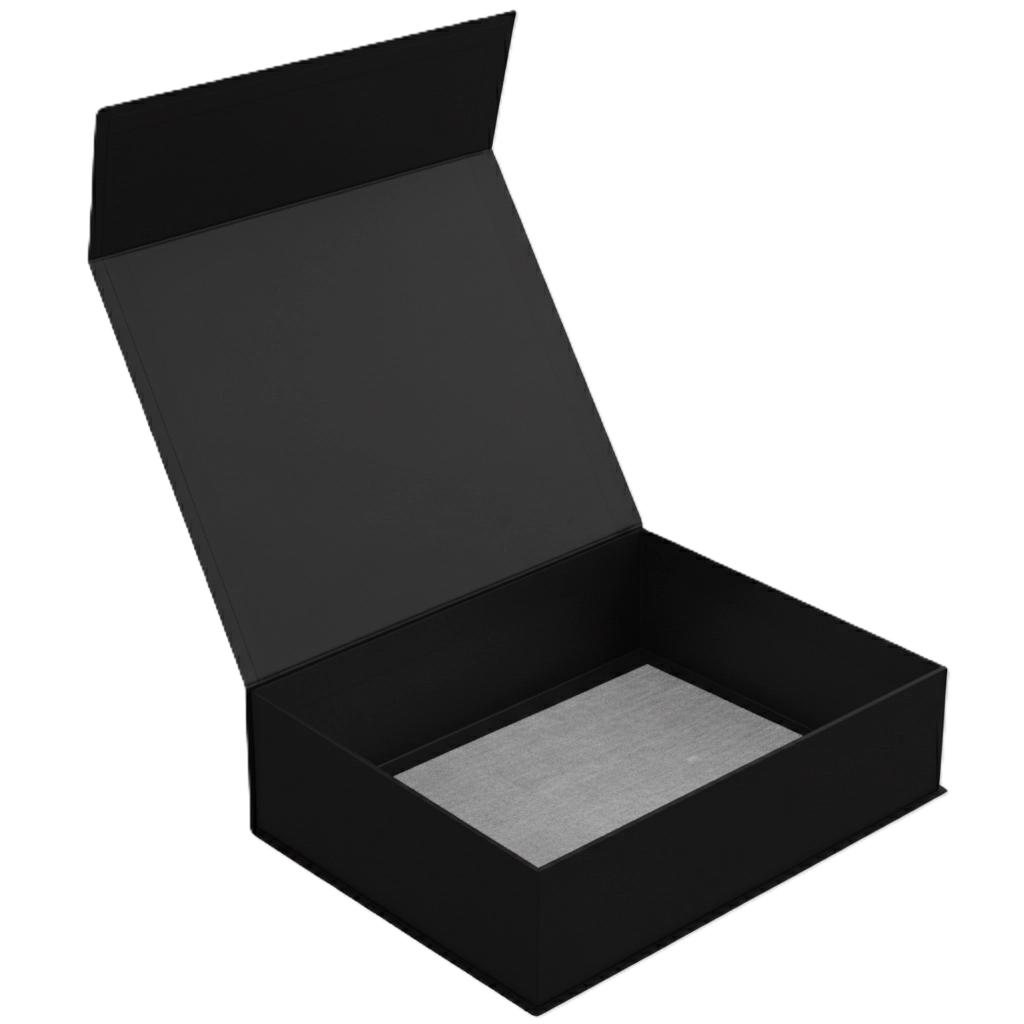
- Magnetic closure boxes
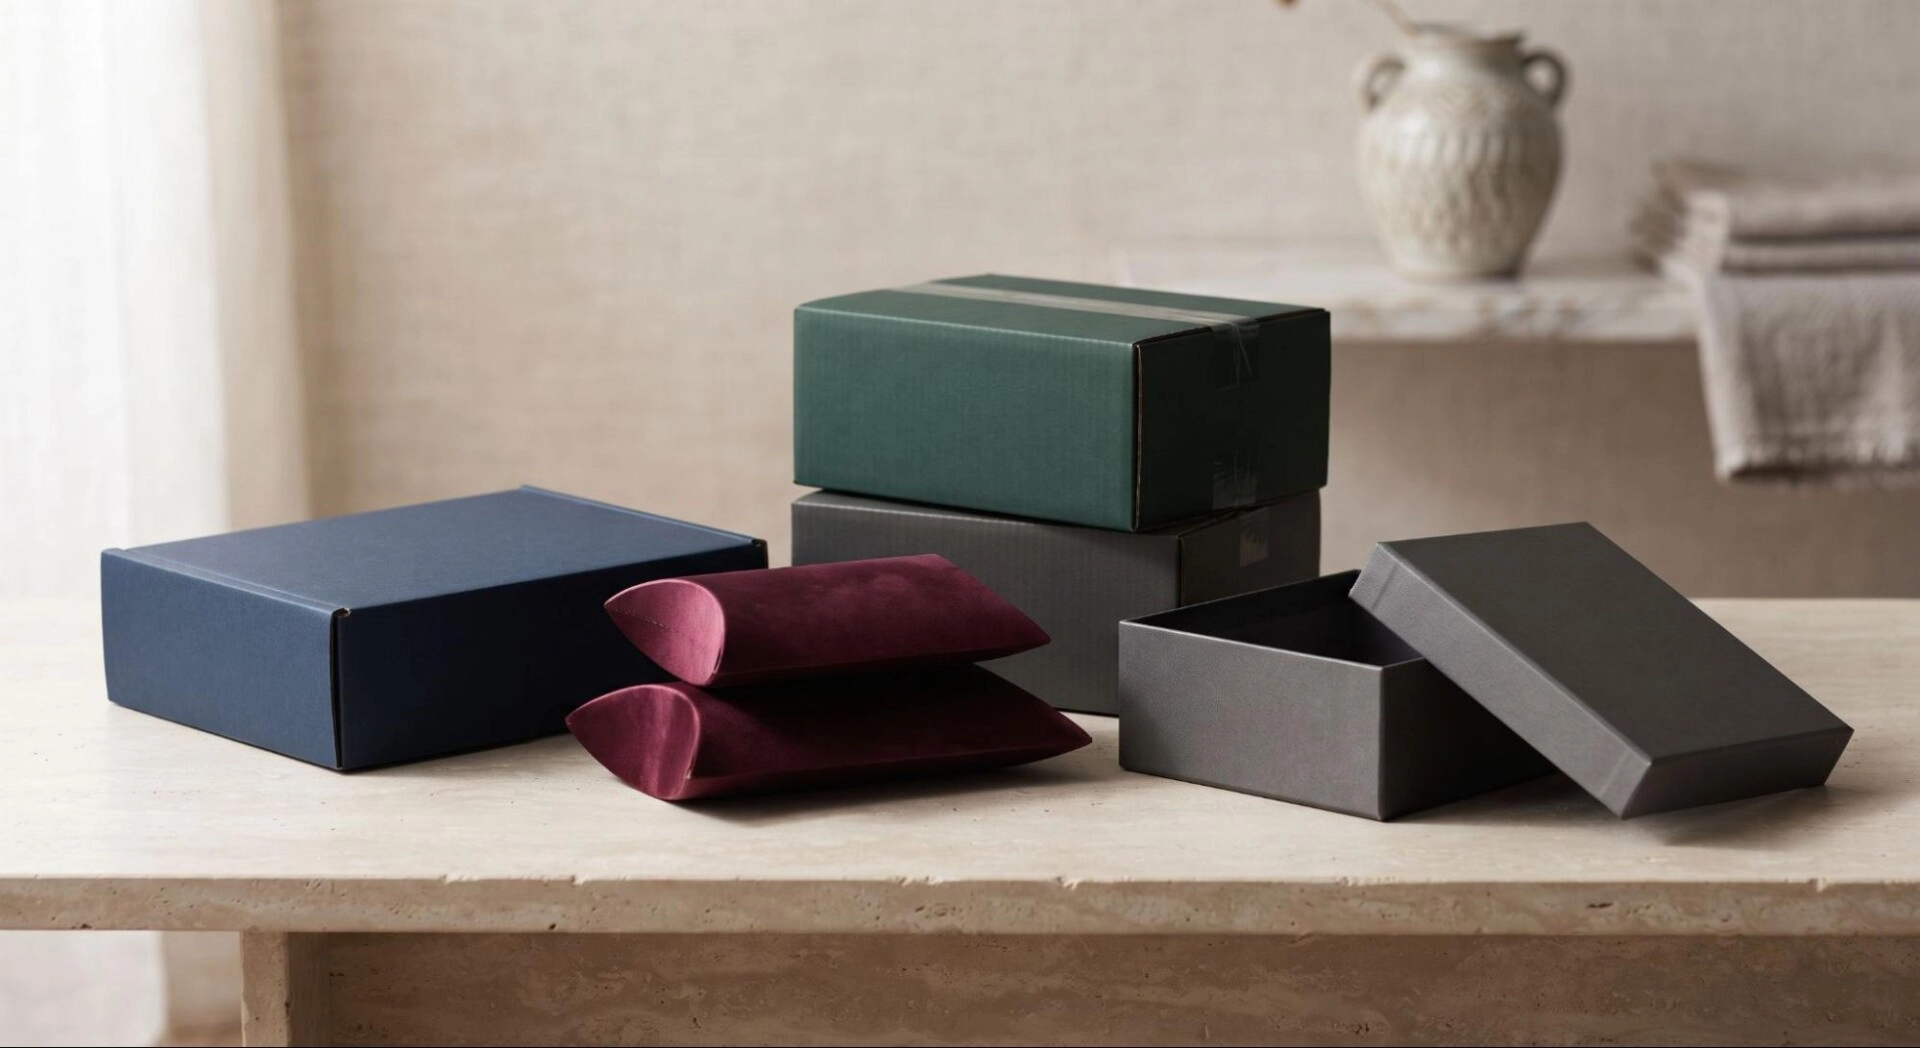
A folding carton works well for many lightweight retail products. A mailer box can suit e-commerce orders because it offers a practical opening and closing system.
Rigid boxes provide a stronger structure and often suit premium goods. Two-piece designs work well when the lid and base need to remain separate.
This stage forms the base of your custom box construction. The right structure makes later steps much easier.
Step 3: Create a Box Template or Dieline
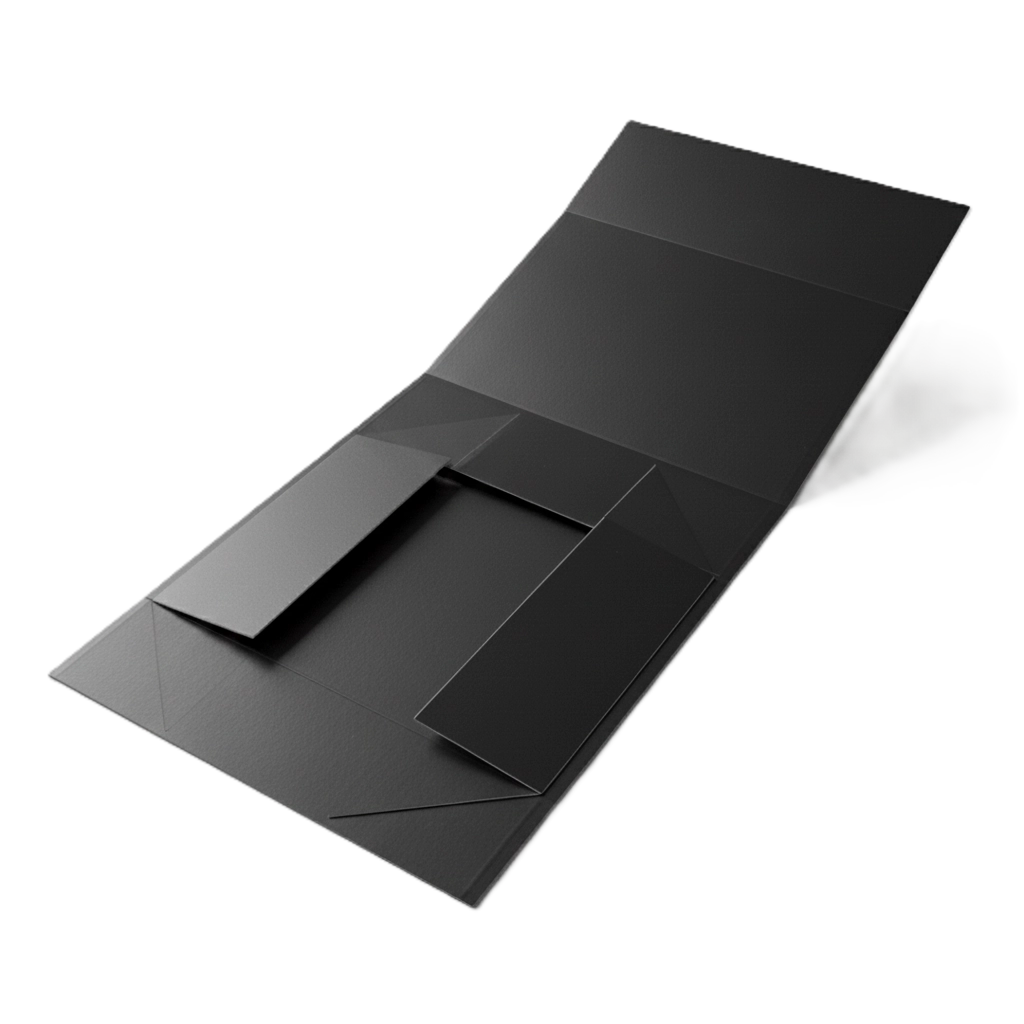
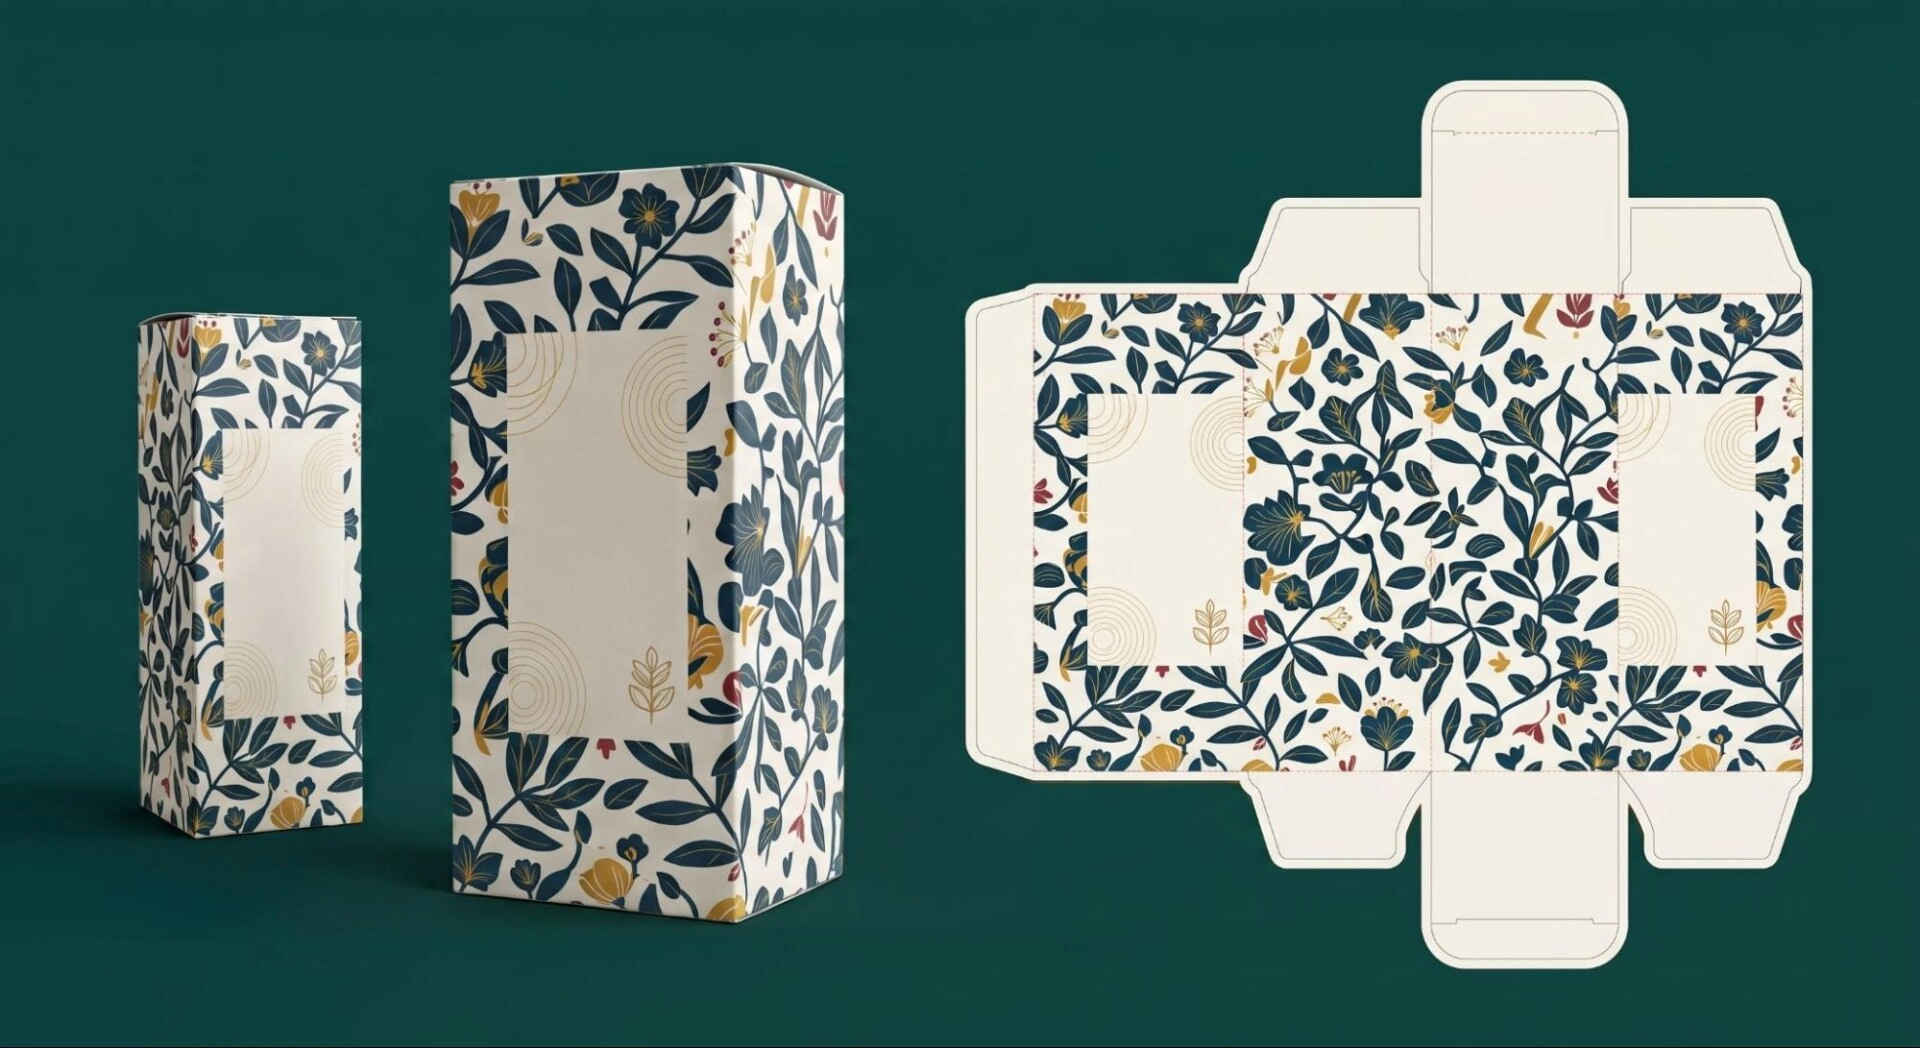
Now comes one of the most important stages. You need a flat layout that shows how the package will look before folding. This layout is called a dieline.
A custom dieline shows the panels, tabs, cuts, folds, and glue areas needed to create the final structure.
A box dieline may include:
- Cut lines
- Fold lines
- Glue flaps
- Closure tabs
- Main panels
- Bleed areas
The cut lines show where the machine or blade will separate the material. Fold lines show where the board needs to bend.
How to Design a Box Template
Start with your approved dimensions and selected structure. Then:
- Draw the main panels.
- Add side panels.
- Add top and bottom flaps.
- Create glue flaps where required.
- Mark cutting lines.
- Mark folding lines.
- Add bleed to the artwork area.
- Verify all measurements.
- Prepare the file for a physical sample.
A packaging box template can help you understand the layout, but the final packaging dieline should match your actual product and material.
You can use design software such as Adobe Creative Cloud to prepare and edit your packaging artwork before production. It can help you work with layouts, colors, images, and other design elements.
Never assume that one template will work for every box. Small changes in size or structure can affect the entire construction.
Step 4: Make a Prototype Before Production
This is one step you shouldn’t skip.
A design may look perfect on your computer but behave differently once you cut and fold it. A physical sample gives you the chance to catch problems early. Put the actual product inside the prototype and check the fit.
Ask yourself:
- Does the item slide around?
- Is there enough room for protective material?
- Do the flaps close properly?
- Does the package stay square?
- Are the glue areas large enough?
- Does the insert fit?
- Is the opening comfortable?
If something feels too tight, too loose, weak, or awkward, adjust the layout before placing a larger order.
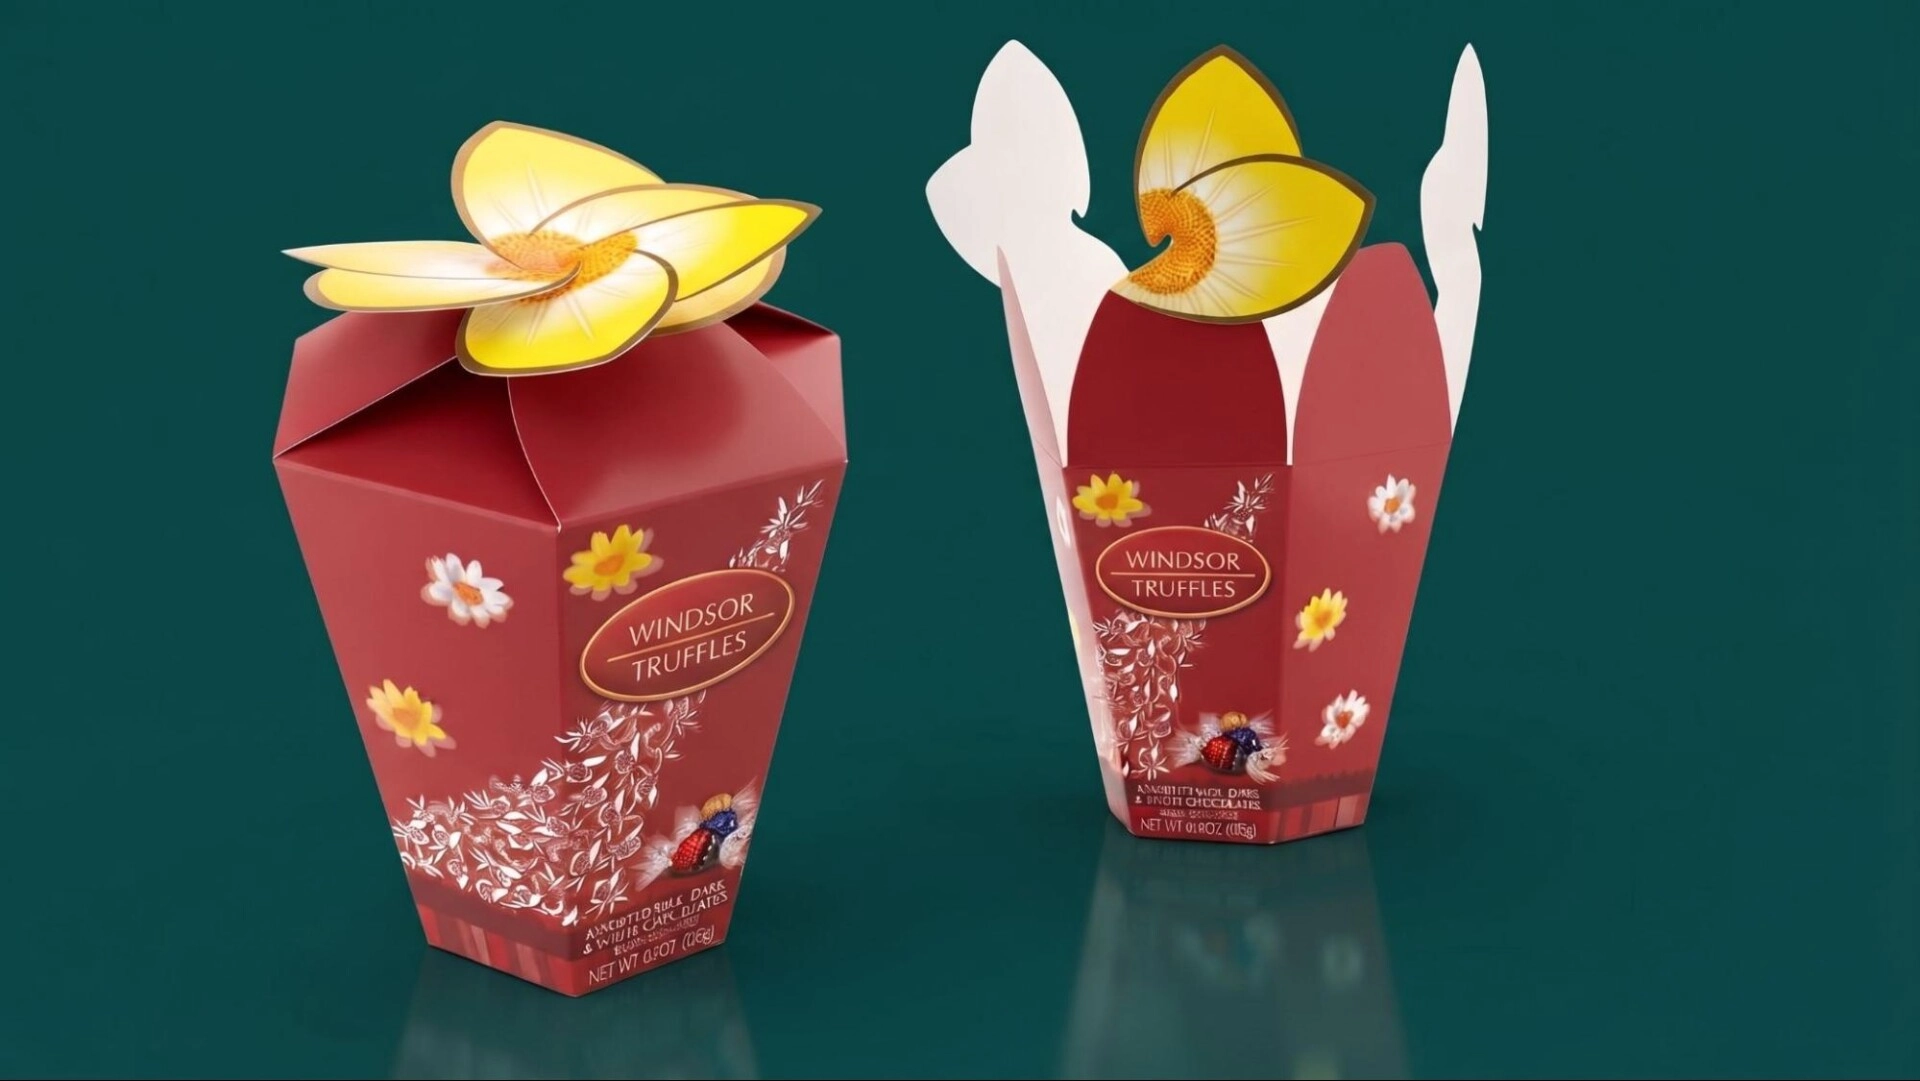
Step 5: Cut and Score the Material
After the sample works, prepare the sheet for cutting. For a simple project, place the material on a cutting mat. Use your template as a guide and mark the areas that need to be removed.
A sharp utility knife can create clean edges when you work carefully. Scissors can also work for thinner materials.
If you’re making custom cardboard boxes, take your time around corners and small tabs. One uneven cut can affect how the package fits together.
Scoring is just as important. It creates a controlled groove where the material needs to bend. This makes the folds cleaner and reduces the chance of rough or cracked edges.
For larger orders, manufacturers use die-cutting equipment. It follows the approved box cutting template and creates consistent shapes across many sheets.
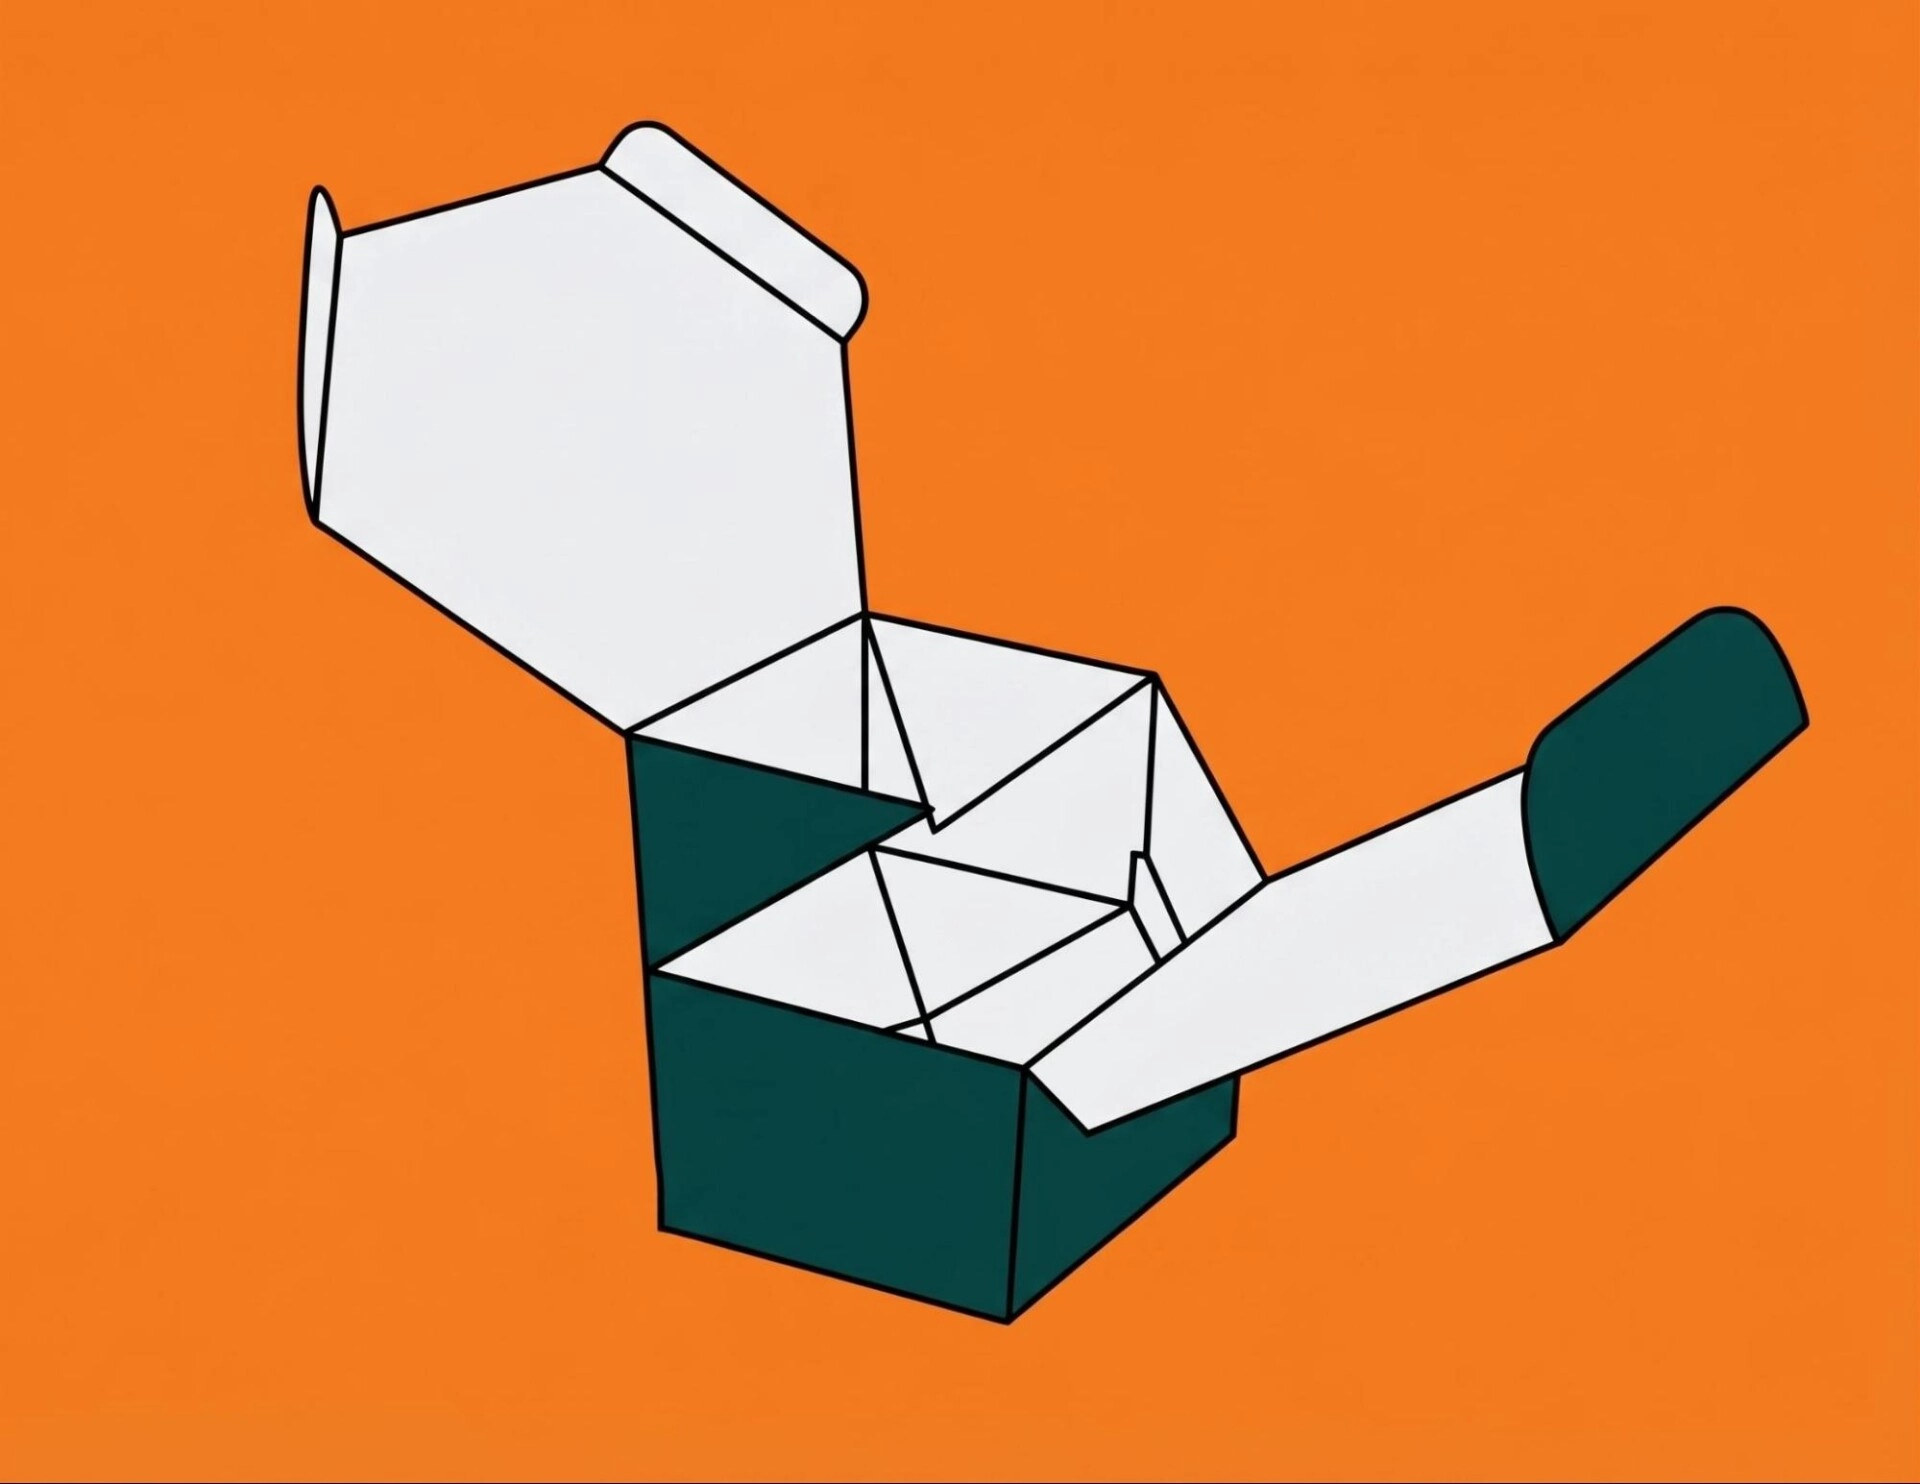
Step 6: Fold and Assemble the Box
The flat sheet should now have all the cuts and scores it needs. It’s time to turn it into a finished package.
Start by gently folding along the scored lines. Don’t force the material. Let each section bend along its intended crease.
Next, bring the panels together and secure the glue flaps. Depending on the structure, the box may use tuck tabs, locking tabs, adhesive, or a separate lid.
For example, a simple carton may come together after a few folds and one glued seam. A mailer may use several locking flaps. A rigid package may require separate pieces and stronger adhesive.
Follow the order shown on your template. If you fold the wrong panel first, another section may not line up correctly.
Once assembled, place the product inside and check the final shape again. The finished package should close properly without putting unnecessary pressure on the contents.
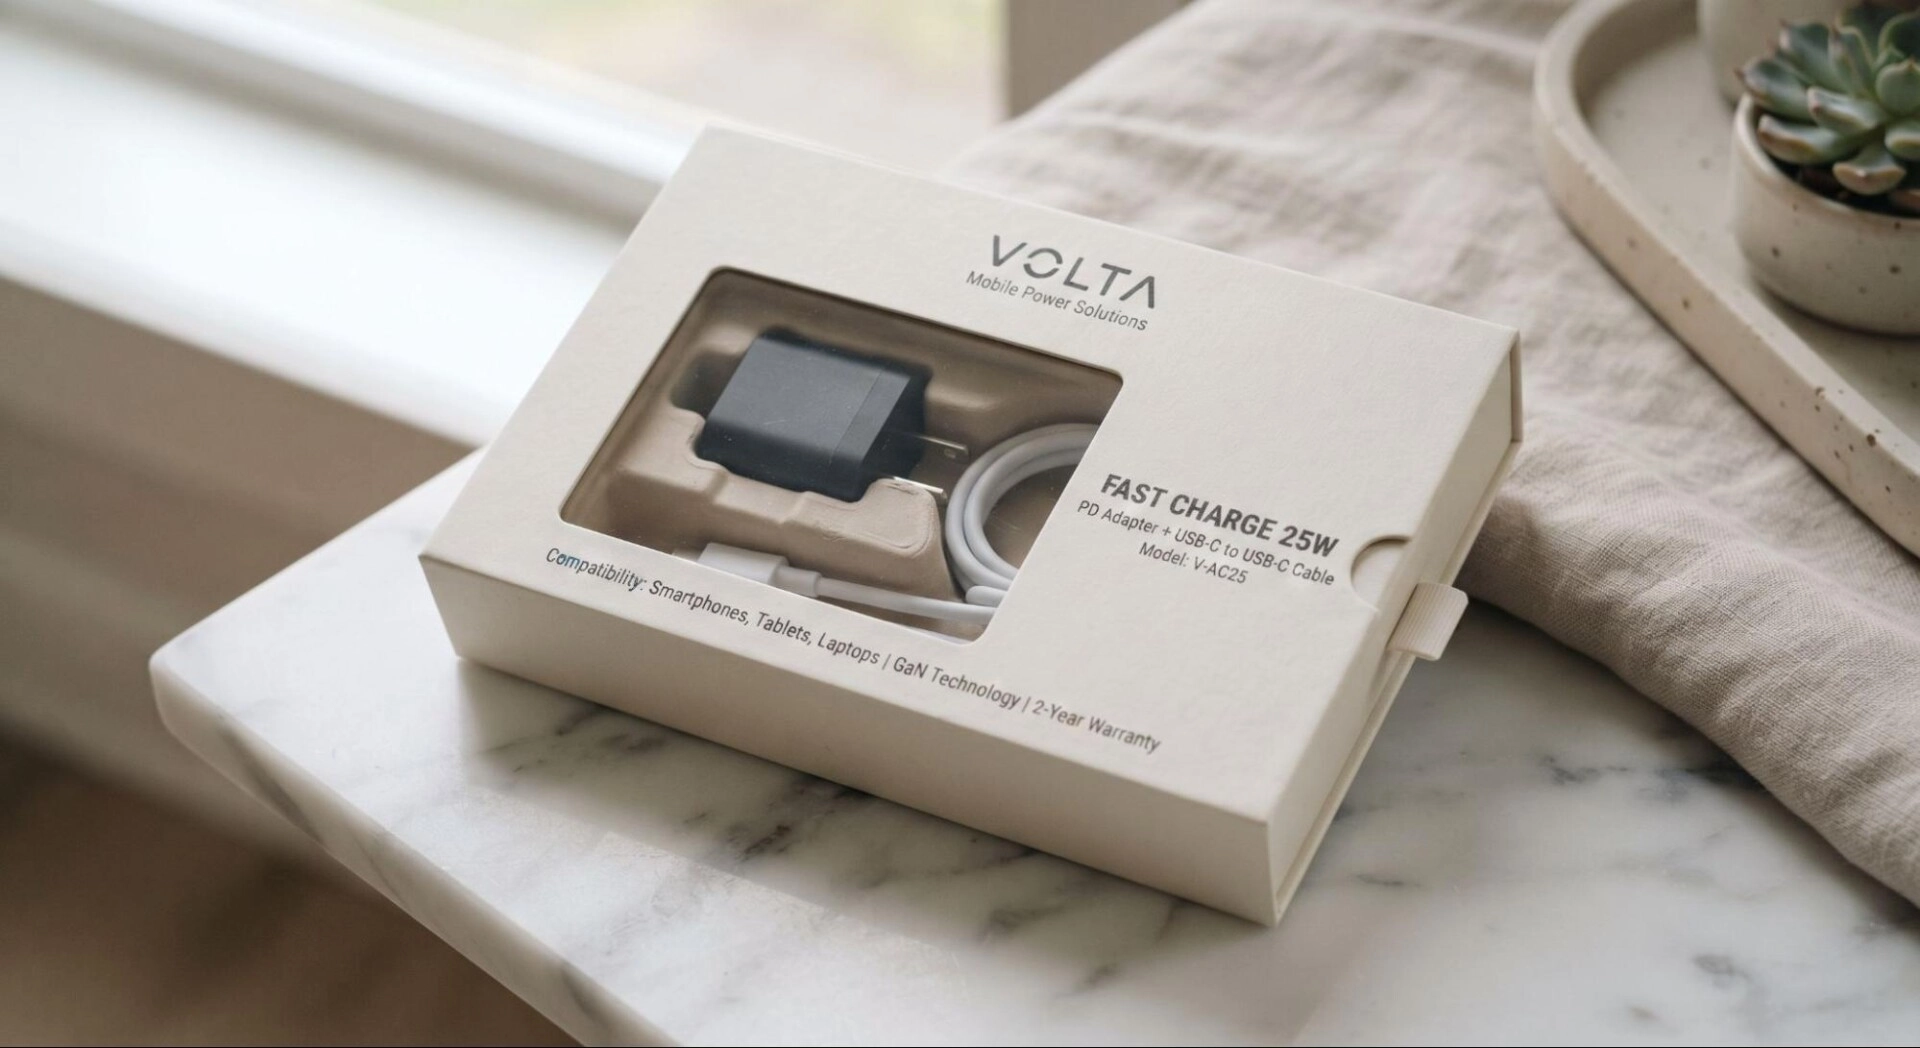
Step 7: Add Printing and Brand Design
This is the interesting part, now you can add the visual elements that make the package yours.
Your artwork can include:
- Logo
- Brand colors
- Product name
- Images
- Instructions
- Contact details
- Barcode
- QR code
Common printing methods include:
- Digital printing works well for shorter runs and projects that need quick setup.
- Offset printing can produce detailed, consistent results and often suits larger quantities.
- Flexographic printing is widely used for paper and corrugated packaging.
- Lithographic printing can provide detailed graphics and is often combined with other packaging processes.
Your artwork may use CMYK for standard process colors. If your brand depends on a specific color.
Always review a proof before production. Check the logo, text, images, colors, and placement carefully.
Step 8: Select the Right Finishing Options
Printing isn’t the only way to change the appearance of your package. Finishing adds another layer of detail.
You have multiple box finishing options:
- Matte coating
- Gloss coating
- Soft-touch coating
- Spot UV
- Foil stamping
- Embossing
- Debossing
- Lamination
Spot UV can highlight selected areas such as a logo. Foil stamping adds a metallic effect. Embossing raises part of the artwork, while debossing presses it into the surface.
Lamination can also add a protective layer to certain packaging materials.
Choose a finish based on your brand style, product, budget, and material. You don’t need every option to create an attractive package.
Step 9: Check the Finished Package
Before you approve a large production order, inspect the final sample carefully.
Start with the structure. Make sure the package holds its shape and that all panels meet correctly. Open and close it several times to see whether the tabs or lid work as expected.
Then check the product fit. It should sit securely without being squeezed. At the same time, there shouldn’t be so much empty room that the item moves around during shipping.
Take a close look at the printed surface too. Check:
- Logo placement
- Text
- Color accuracy
- Image quality
- Panel alignment
- Cut and fold positions
With that, also look for scratches, uneven coating, misplaced foil, or damaged edges. This final check gives you one last chance to make changes. Once a large batch goes into production, correcting a mistake becomes much more expensive.
DIY Boxes or Professional Production?
If you only need a few packages, making your own boxes can be a useful option. It gives you a chance to test different shapes, materials, and sizes before placing a larger order.
But things become totally different when you need packaging for a growing business. Making every box by hand takes time, and keeping each piece the same can become difficult. Printing, special finishes, complex shapes, and large quantities also require tools that most people don’t have at home.
In this situation, Hot Custom Boxes can help. We make custom boxes in all types, sizes, shapes, and styles to match different products and business needs.
We also help with box structure, artwork, materials, printing, and finishing. So instead of managing every step yourself, you can get packaging for your product and brand at wholesale rates.
Ready to Create Your Custom Packaging?
The whole process becomes much easier when you break it into clear stages, just as we explained above. Every stage connects to the next. That is the basic process behind every packaging box that fits your product and represents your brand properly.
If you think you can’t manage the process yourself, contact us today to discuss your packaging needs and get your free quote. Let our experts create custom packaging that fits your product and your brand.